| Click on Microsoft Business Intelligence Studio and then select a Report Server Project. Please find the screen shot below. |

|
| When you click on OK button , The solution explorer will create 3 types of folders. If you did not see Solution Explorer, please click on Ctl+Alt+l else in the Menu click on View and then select Solution Explorer. Please find the screen shot below. |

|
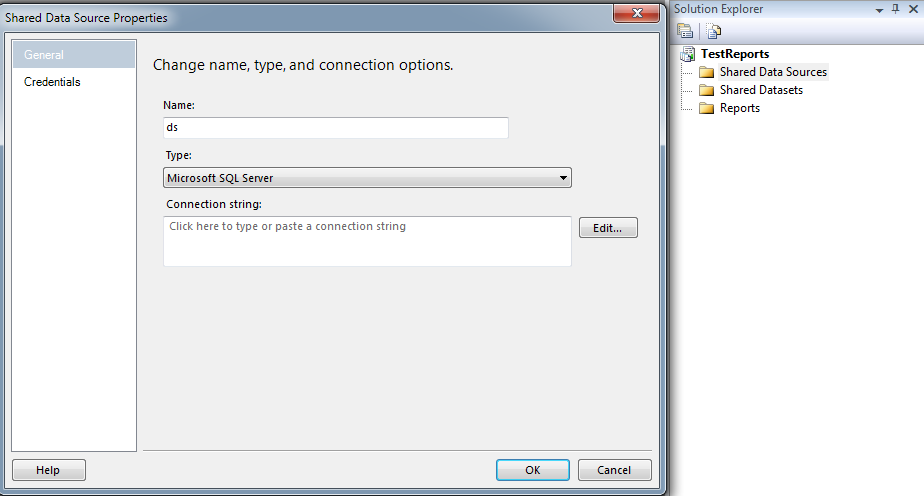
| Then right click on Shared Data Source, Select Add New Data source. Please find the screen shot below. |
|
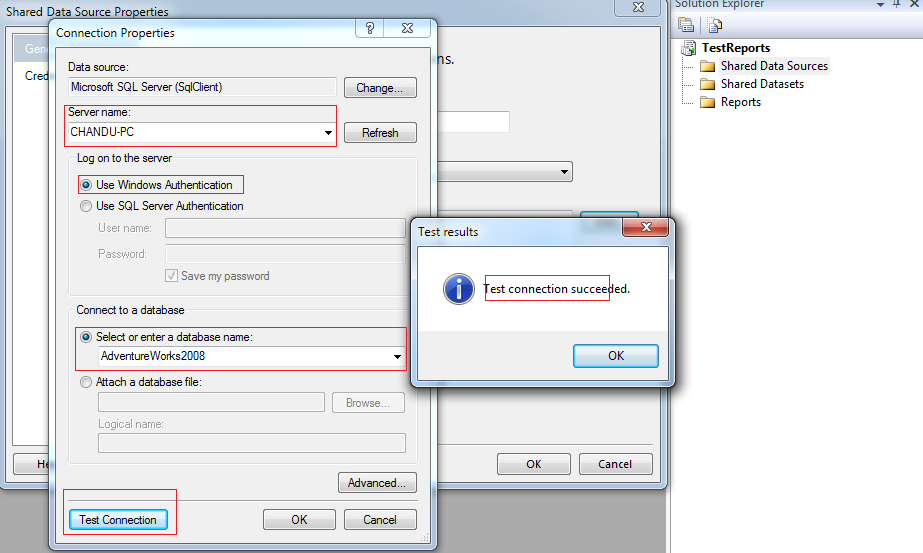
| Then click on Edit button, configure the properties. FYI , Please find the screen shot below. |
|
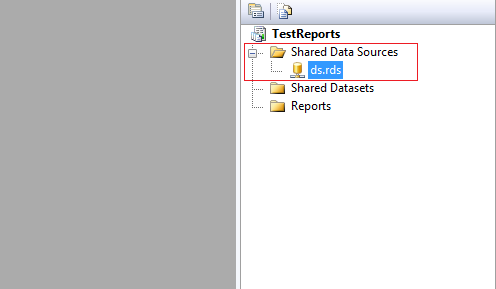
| Then click on OK button of Test Result, Next click on OK Button of Connection Properties and then click on OK Button of Share Data source . Then a Share Data source will be created. FYI please find the screen shot below. |
|
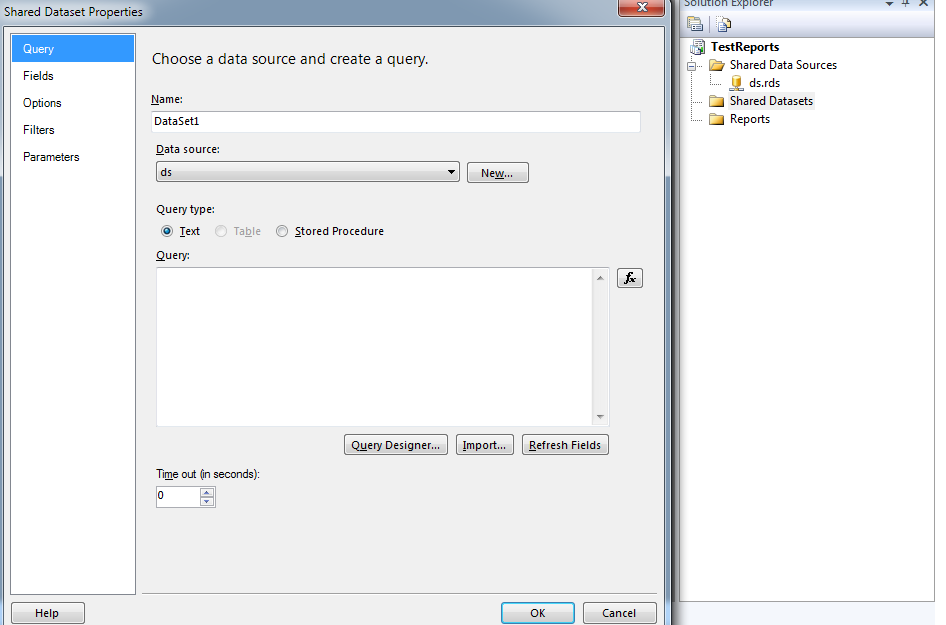
| Next step is we need to create Dataset . In the above screen shot, we have Shared Dataset. Right click on that click on Add New Dataset. then screen will be opened.Please find the screen shot below. |
|
| In the Above Screen shot, if you know the Query, Just write in the Query Box or if you know Stored Procedure name, select Stored Procedure radio button and then select the procedure name in the procedure list drop down. In my case i just written a query. Please find the screen shot below. |

|
| Then click on OK Button of Shared Datasource Properties. Next step is , we have to create a report. In the Solution explorer, right click on that Report Folder. We can see Add New Report and Add Options. Please find the screen shot below. |

|
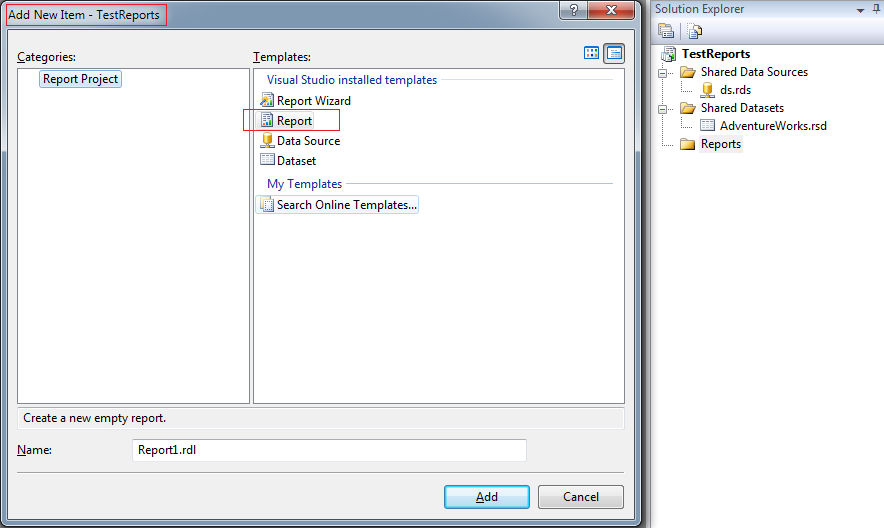
| If you click on Add Nee Report, we have to follow the steps to create a report using Report Wizard. In my Practice, click on Add Option and then select New Item and then select Report from Add New Item Window. Fyi, please find the screen shot below. |
|
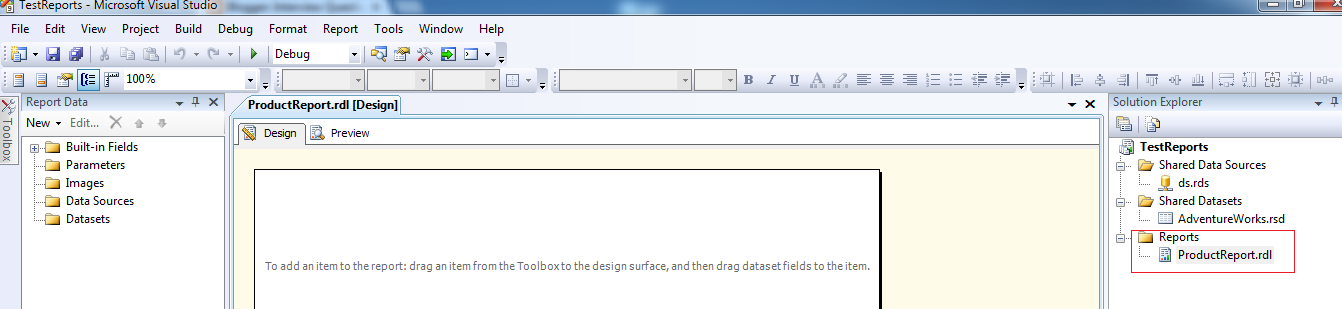
| Select Report, change the name of the report and click on Add Button , then report will be added to the Solution explorer. Fyi, Please find the screen shot below. |
|
| Then in Report Data(Ctl+Alt+d), right click on the Dataset, click on Add New Dataset. Then Dataset Properties window will be opened. Select Existing Datset which was created already and then click on OK Button.Fyi please find the screen shot below. |

|
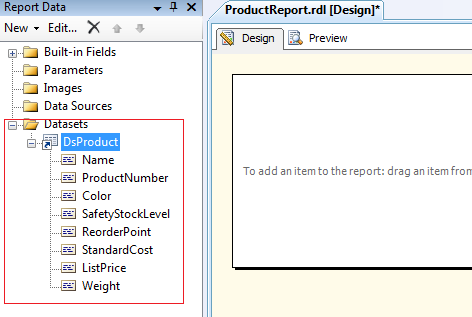
| When you click on OK Button the Columns are appeat under the Dataset. Please find the screen shot below. |
|
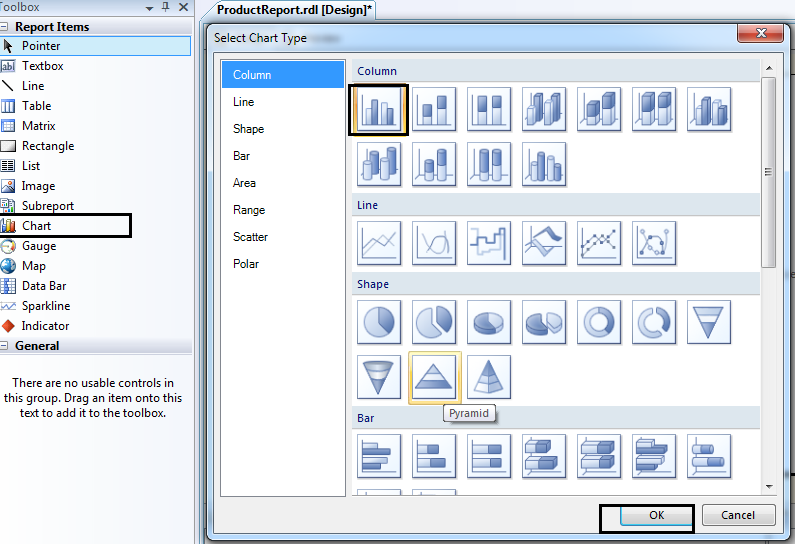
| Then in Toolbox(Ctrl+Alt+x), Drag the Chart on the Surface of report. FYI, please find the screen shot below. |
|
| Increase the height and width of that Chart. Select the chart and right click then select chart properties. click on the chart Properties and then select Dataset name from the dropdown.Click OK Button. and click on that chart. Beside of the chart, chart data window will be opened. Please find the screen shot below. |

|
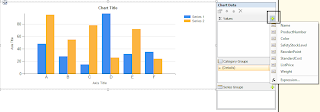
| Beside of the chart, chart data window will be opened.Click on Add field ("+"). Then we can see Columns. Please find the screen shot below. |
|
|
| Then select Values which you want to show in X Axis . In my case, i am going to select the Standardcost and ListPrices, whcih i want to represent in the chart. Next click on Preview button.Please find the screen shot below. |

|

|
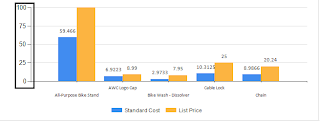
| Next, if you want to show values on charts, Then, right click on Blue Bar or Yellow Bar, select Datalabels. Please find the screen shot below. |

|

|
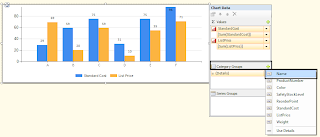
| Next, if we want to make it Chart with Group by some Category then click on Chart, Select Category Name from the Category Group. Then Name will be automatically added to the chart. Please find the screen shot below. |
|

|
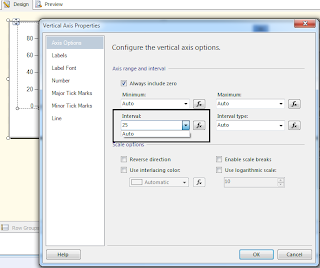
| Then in Chart left side, by default chart is showing values with difference 20 beween the numbers. If you want to show the differnce as 10 or 15 or 25 or 35 something... Right click on the Axix peoperties, click on Vertical Axix Properties, then Vertical Axis Properties window will be opened. Please find the screen shot below. |
|
|
4/06/2013
How to Create Chart in SSRS
Subscribe to:
Post Comments
(
Atom
)
No comments :
Post a Comment